1.1 Install Rust
1.1.1 Installing from the Official Site
Go to the official Rust website, where you can change the language in the top-right corner.
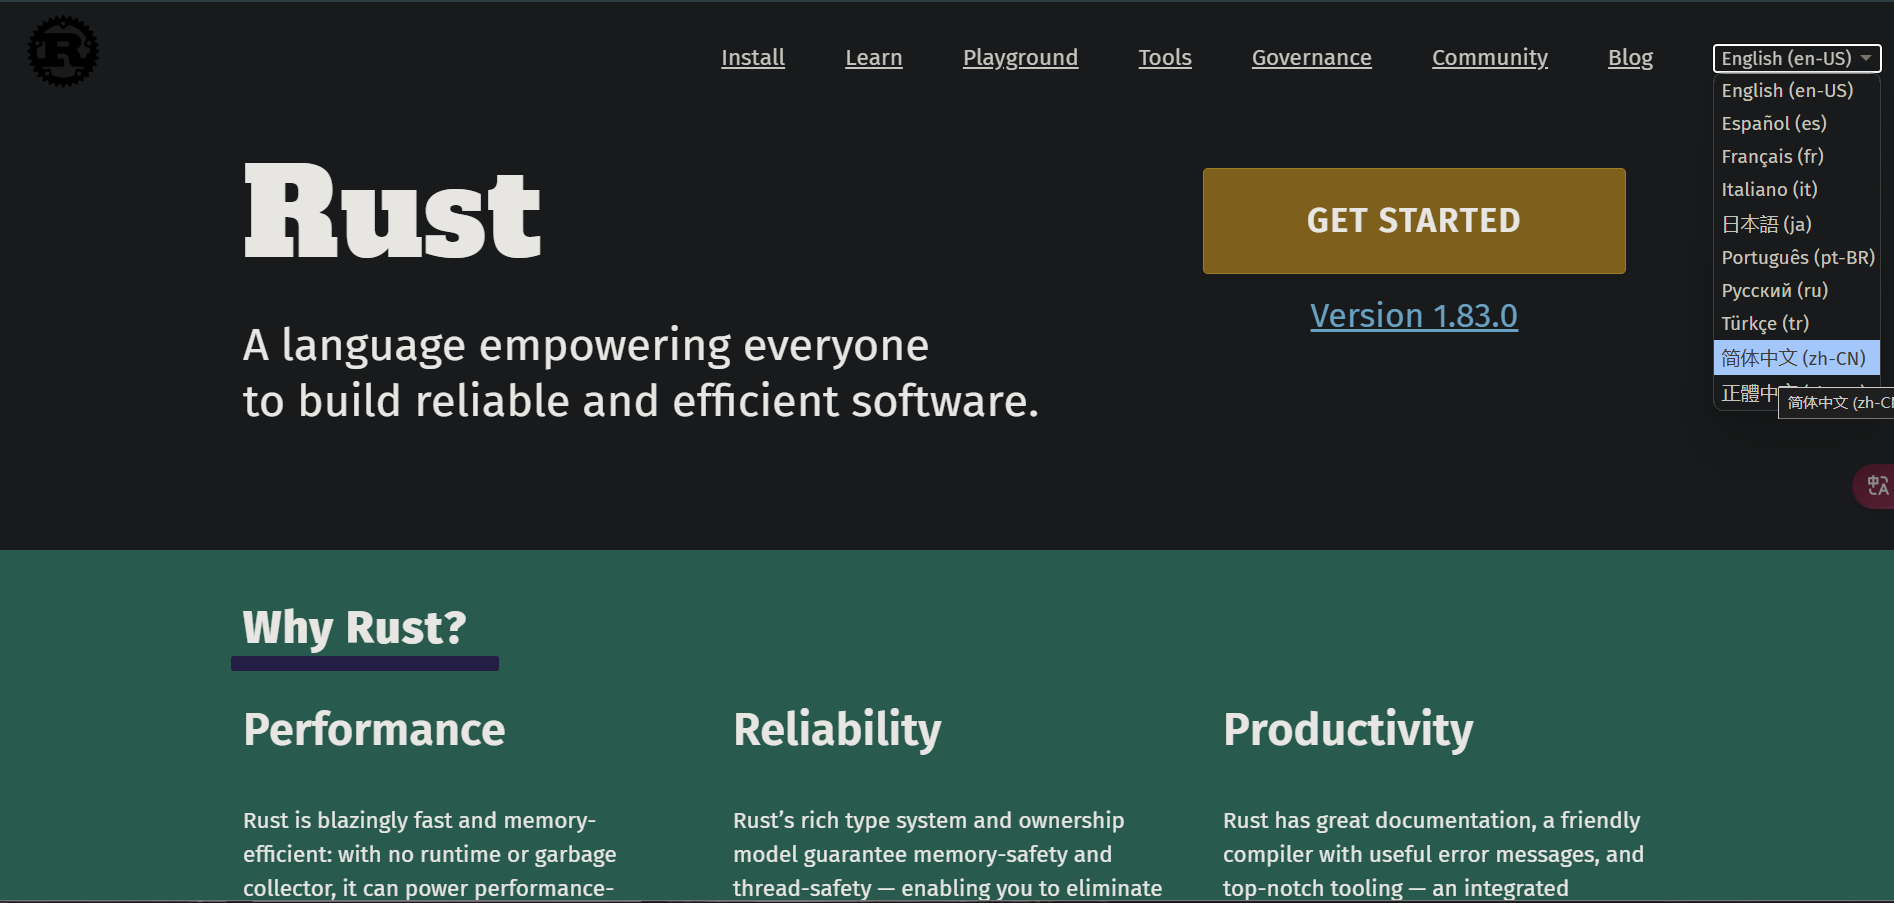 Click “Get Started” and you will see the following page:
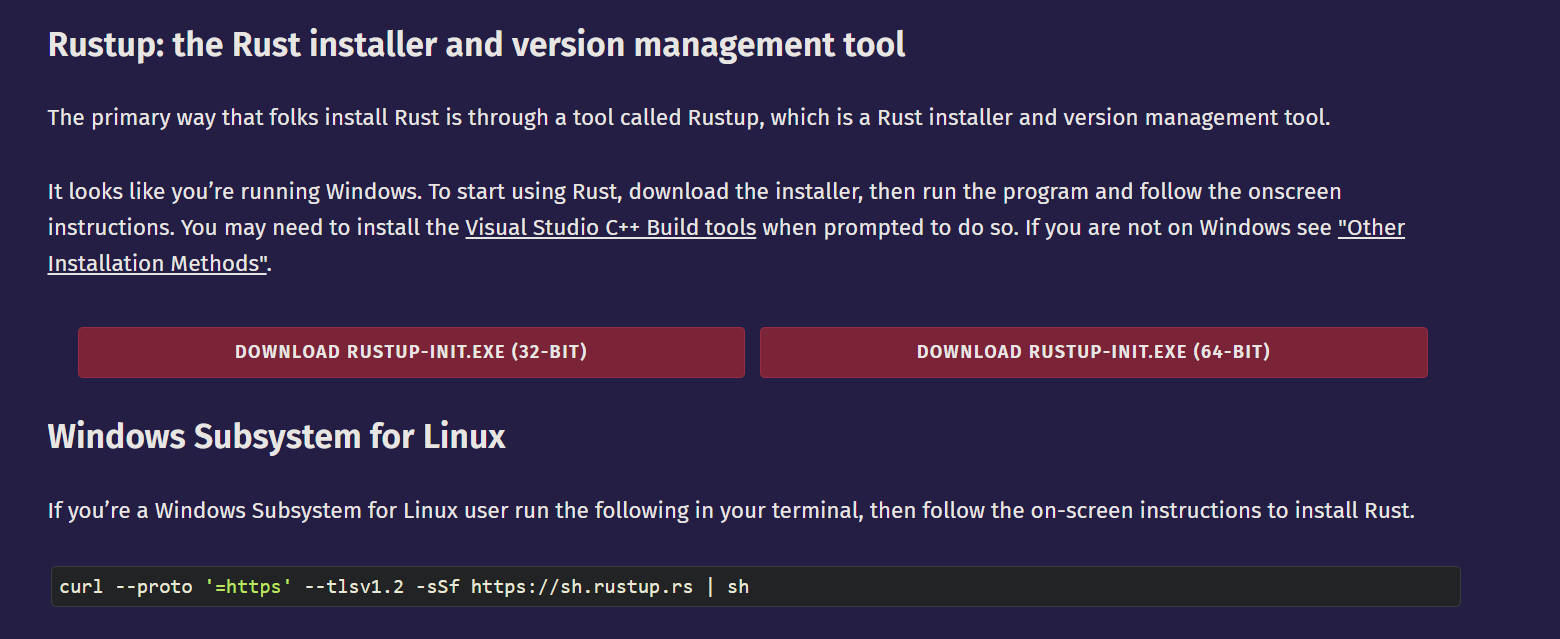 Choose the download that matches your system: 32-BIT for 32-bit systems and 64-BIT for 64-bit systems. Most computers today are 64-bit. If you do not know whether your computer is 64-bit or 32-bit, and it is not an ancient machine, 64-bit will probably work.
If you want to install Rust on macOS, Linux, or the Windows Subsystem for Linux, run the following command in the terminal:
curl --proto '=https' --tlsv1.2 -sSf https://sh.rustup.rs | sh
Open the downloaded installer and you will see the following screen:
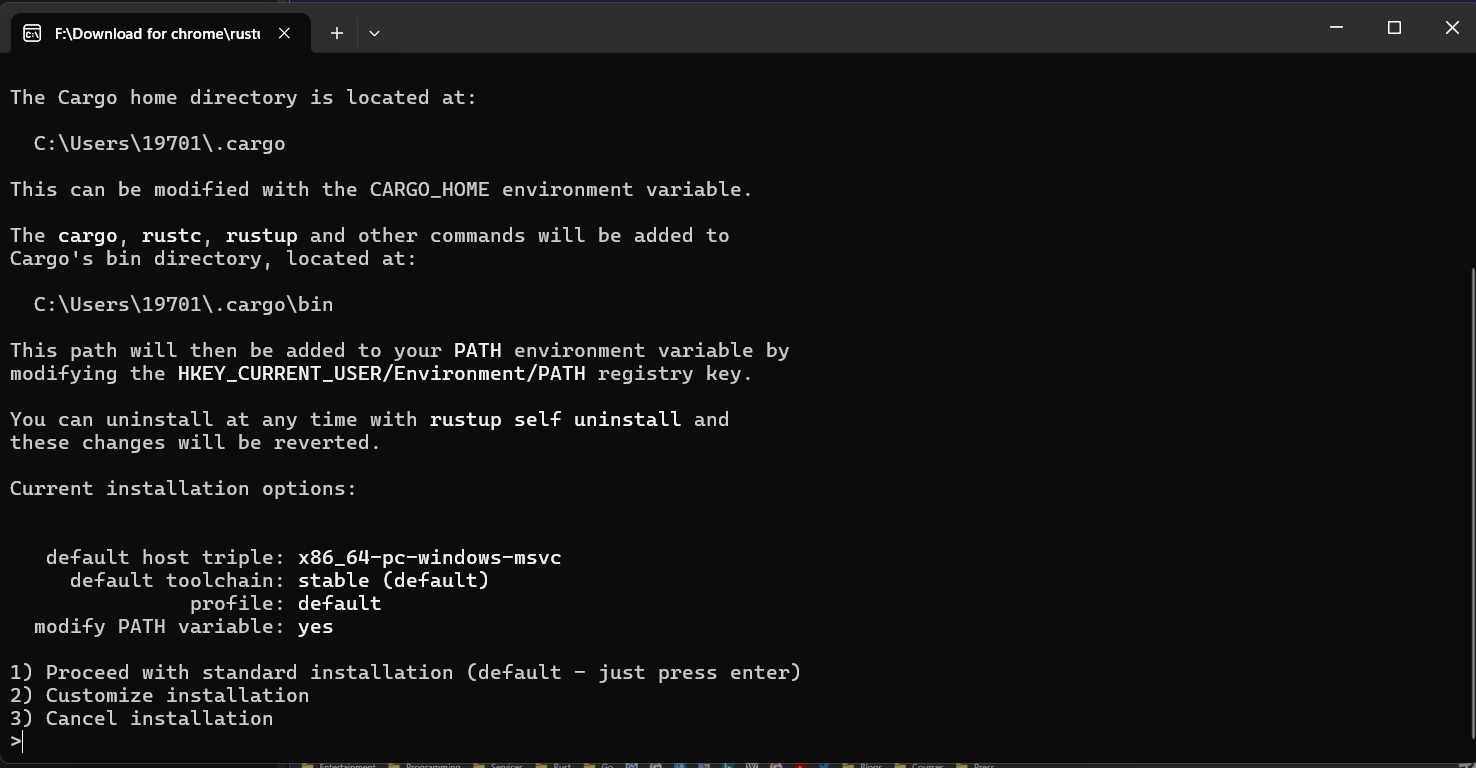
There are three options here:
- Option 1 (default): standard installation
- Option 2: custom installation, where you can choose the installation path, components, toolchain version, and more
- Option 3: cancel installation
For most people, Option 1 is enough (either type 1 and press Enter, or just press Enter directly).
If you see the following screen, Rust has been installed successfully:
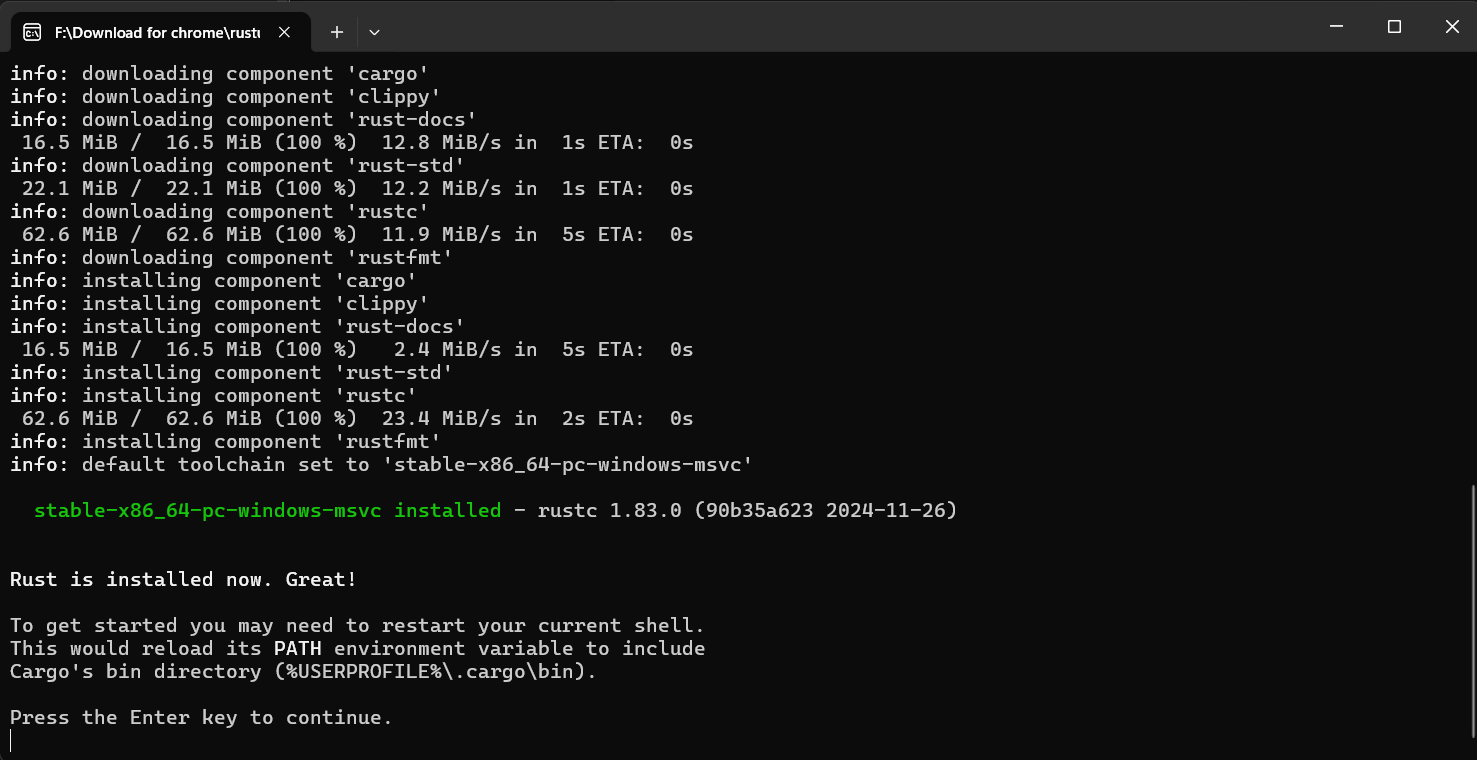 The installer will prompt you to restart your shell. Press Enter and the program will exit, and Rust will be installed.
1.1.2 Rust Command-Line Operations
Rust commands on Windows can be run in Terminal (it comes with Windows 11; if you do not have it, search for Windows Terminal in the Microsoft Store and install it).
-
Update Rust:
rustup updateRust is a relatively new language and is updated very frequently, so it is recommended to run this from time to time to get the latest version. -
Uninstall Rust:
rustup self uninstall -
Check the installation:
rustc --versionorrustc -VOutput format:rustc x.y.z (xxxxxxxxx yyyy-mm-dd)x.y.zindicates the version numberxxxxxxxxxindicates the hash of the current versionyyyy-mm-ddindicates the commit date of that version in that year
-
Open the local Rust documentation manual:
rustup doc
Development Tools
- Install the Rust plugin for VS Code
- VIM
- Helix
- RustRover
- …